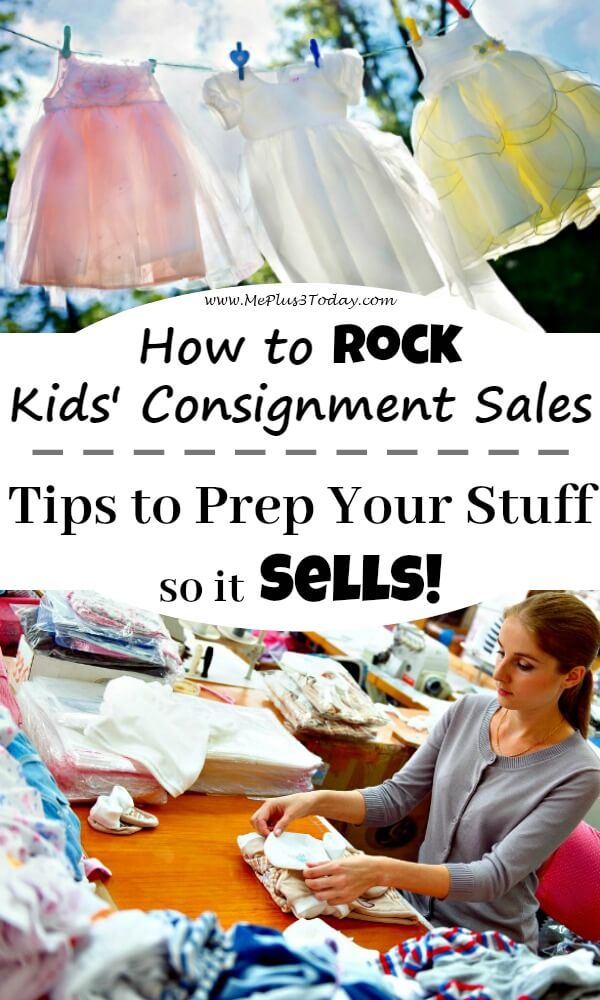
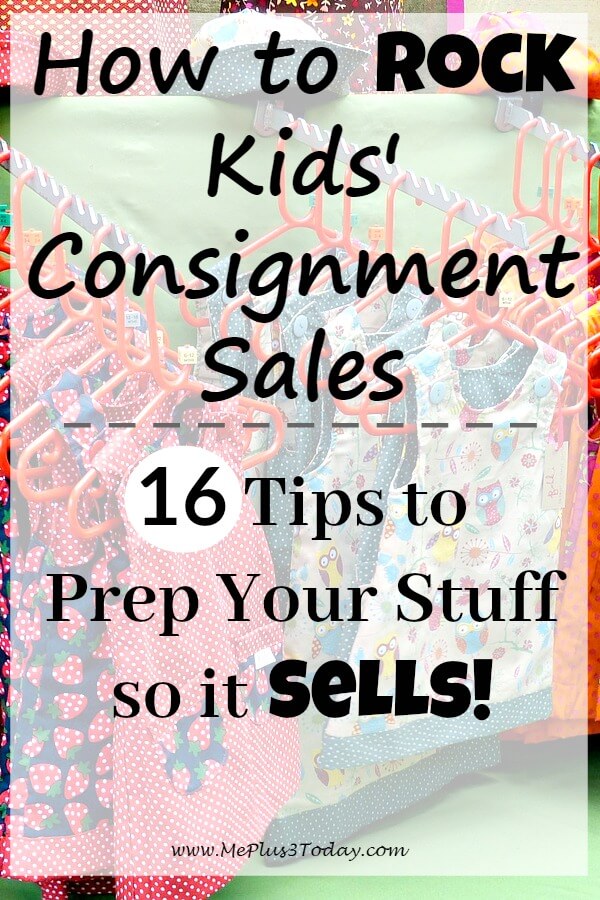
Kids are constantly growing out of their clothes, shoes, and even toys! What do you do with all of that stuff they no longer need? If you are frugal like me, a good idea is to sell it in kids consignment sales or mom-to-mom sales.
I have participated in 6 kids consignment sales over a 3-year period as a seller and a buyer. Not to toot my own horn, but I’ve been pretty successful at getting rid of the “old” in order to make money (and room) for the “new.”
To help you out, I’m sharing what I’ve learned with you. In this post, you will find tips to help you properly prep your stuff to improve the likelihood that it will sell!
If you are looking for even more tips for kids consignment sales, click here to visit my main page that connects you to EVERYTHING I have learned. It includes links to pricing tips, shopping tips, and everything you need to rock the mom-to-mom sales in your area!
Disclosure: For your convenience, this post contains affiliate links from which I make a small commission at no additional cost to you. Thanks!
The prep work seems like a lot, but once you get into a rhythm, it’s really not that bad. And it is so, so worth it!
I personally prefer kids consignment sales over garage sales because once you’ve prepped and tagged your items, you just drop them off and don’t have to worry about it until pick-up day at the end of the sale. Of course, you can choose to volunteer during the sale if you want, but it is not necessary.
However, with a garage sale you would do the same amount of prep, PLUS you would have to actually work the garage sale for the next few days too.
Another advantage of kids consignment sales is that they attract your target market while doing ALL the advertising for you. No putting out signs on street corners or posting ads in the classifieds. No people simply looking for antiques or other specific items, and no people just there to browse. It’s all people with kids looking for kid’s stuff, and they are ready to buy!
So let’s get to it!
Tips for Prepping Items for Kids Consignment Sales
Prep Tip #1: Check the Requirements and Rules of Kids Consignment Sales
Before you invest any time in prepping items, make sure you check the rules and requirements of the sale. They may have rules regarding what can and cannot be sold, and how it should be presented. If you are doing a sale that is set up like department style shopping (and not individual tables per seller), make sure you check your sale’s hanger requirements and any rules on how to tag items. They may also have other important information, like about recalls, which you need to make note of before you start prepping.
Prep Tip #2: Wash all Clothing
I’m going to assume that you have your kid’s clothes that they outgrew packed away in big storage bins like these. They were probably clean when you packed them away, but it is helpful to wash them again as you unpack them to get rid of any lingering odors and wrinkles.
Prep Tip #3: Clean all Toys
Wipe toys down with a baby wipe, disinfecting wipe, Magic Eraser, or a slightly damp cloth. Clean toys look like new toys, which are not only more like to sell, but to sell at a higher price.
Prep Tip #4: Clean all Shoes
Make sure shoes are clean! You can run the through the washing machine or even the dishwasher! Like toys, a baby wipe, disinfecting wipe, Magic Eraser, or damp cloth can also work wonders on shoes. Bright, shiny, and clean shoes are definitely better sellers than dingy ones.
Prep Tip #5: Check all Clothing for Damage and Repair as Needed
Look for stains, rips and tears, holes, pilling, broken zippers, missing buttons or any other things that make the items condition less than stellar.
Some stains can be treated and removed with a stain stick or helpful tips from Pinterest.
Loose threads can be cut off and seams can be fixed if you know how to sew.
If an item is beyond repair, DO NOT include it in the sale. Put it in a bag or box, and find a local organization that accepts clothing and textiles for recycling. Or consider upcycling/repurposing it with ideas like this or these. Do whatever you can so that you don’t just throw it away!
RELATED: Easy Ideas for an Eco-Friendly Lifestyle
Prep Tip #6: Check all Toys and Books for Damage
Make sure toys have all their pieces and that they work properly. Check if books have all their pages and no writing/coloring in them. If something is missing pieces or damaged, try to repurpose/upcycle like these ideas, or find a local organization that accepts and recycles these types of things.
Note: Include working batteries in the toy so buyers can verify that it works. Usually our toys still have working batteries in them, otherwise, I pick up a few packs of inexpensive batteries from the dollar store. It is definitely worth the small investment to improve the chances of an item selling.
Prep Tip #7: Check all Shoes for Damage
Some things to look for are if the Velcro closure still sticks, if the laces are frayed, if the soles are completely worn down, or if there are holes and tears. Basically ask yourself if you would buy it in that condition for your child. If the answer is no, donate them to an organization that recycles shoes.
Prep Tip #8: Sort Clothing for Quicker Tagging
Sort items by gender, size, and then by “type.”
In other words, separate boy and girl clothes from each other. Then take all your size 18-month (or whatever size) clothes and put all the pants/shorts in a pile, all the shirts in a pile, and all the pajamas in another pile, etc. Sorting makes the next tip quicker and easier.
Prep Tip #9: Sell Outfits and Like-Items Together
I have found that little kid clothes (anything size 2T and smaller) sell better as an outfit. In other words, create an outfit of a top and bottom of the same size and hang on 1 hanger to sell as an item that contains 2 pieces.
Even in larger sizes, if your child typically wore items as a specific outfit, then sell it that way too. It looks more appealing and people won’t have to try to find a shirt that matches those colorful plaid shorts (or some other similar situation).
You could also sell multiples of similar items on one hanger. For example, 2 or 3 pairs of pants that are the same size, or 2 or 3 shirts that are the same size. Obviously price these accordingly (it will be more than if you sold the items individually, see pricing tips below).
Note: I have found that bigger sizes (anything 3T and up) sell better individually. So one article of clothing per hanger.
Prep Tip #10: Gather Sale Supplies
The following is a list of things you will need as you get your items ready to sell.
Supplies:
- Hangers (Remember Tip #1 and check if you sale has specifications for hangers)
Note: You can usually get wire hangers for FREE from your local laundromat. I simply went in and asked if they had any extra hangers that they were giving away. They gave me a huge box full! I also save the plastic hangers when we buy new items from the store.
- Scissors
- Packaging Tape
- Clear Tape
- Clear Ziploc zipper bags (gallon and sandwich size)
- Painters Tape
- Safety Pins (or a tagging gun if you choose)
- Light-colored Cardstock (or whatever tags your type of sale requires)
- Zip-ties
- Computer/Printer/Printer Ink (or a just a pen depending on your sale’s type of tags)
Prep Tip #11: Hang Clothes so they Look Appealing (and People want to Buy Them!)
Hang items so that when you are looking at the front, the top of the hanger looks like a question mark.
You can use safety pins to attach pants/bottoms to a hanger. Attach the pins to the upper portion of the hanger, otherwise they slide over to one side and end up all crooked. This makes it hard for shoppers to see.
Make sure everything is buttoned or zipped up.
Note: As I am hanging items, I trim any weird threads that might be sticking out of seams. I also do another check for stains/damage.
Prep Tip #12: Attach Tags to Clothing VERY CAREFULLY
Prior to this tip, when everything is on a hanger I go through and price everything. See my Pricing Tips post for more information on this.
After I print the tags, I cut them out and attach them to clothing with a safety pin. Some people choose to attach their tags with a tagging gun.
For the love of all that is holy, PUH-LEASE be careful when attaching tags! Put safety pins through seams, button holes, size tags, or other inconspicuous spot to prevent any holes or damage. Do the same with a tagging gun. DO NOT just poke it through any random spot on the item, it will cause damage, making your item less likely to sell or even pulled off the sale floor at inspection time.
Prep Tip #13: Attach Tags to Toys and Books VERY CAREFULLY
Some toys are more conveniently packaged in a clear Ziploc bag if there are multiple pieces and tags can then be attached with clear packaging tape.
You can also use zip-ties to attach pieces of toys together, as well as the tag. Punch a hole in the tag and run a zip-tie through, and attach it to a skinny portion of the toy or in a location where it won’t slip off.
Use painters tape to attach tags to books to prevent damage. You can also sell books in groups of multiples by binding them together with painters tape or putting them inside a Ziploc bag. Painters tape is also a good way to attach tags to toys with decals that you do not want to damage.
Prep Tip #14: Attach Tags to Shoes VERY CAREFULLY
Attach shoes together with a zip tie, or use a large safety pin. You could also put them in a plastic Ziploc bag. Like toys, poke a hole in your tag and use a zip tie to attach the tag.
Prep Tip #15: Add Extra Security
For added security, prevent the tag from ripping by placing a piece of clear tape over the portion of the tag where I poke the safety pin through. To prevent pins from opening up and tags falling off, I will wrap a small piece of clear tape around the safety pin itself. I also wrap tape around the safety pins that I used to attach clothes to hangers.
Prep Tip #16: Store until the Sale for an Easy Drop-off
I hang all my tagged clothing items in a closet, sorted by size, until the day I have to drop them off at the sale. If you plan to sell a lot of items and participate in multiple sales, you could also invest in a hanging rack like this.
When it comes time to drop everything off, I lay the clothing in bins according to size. Some people gather their items together using zip ties or garbage bags according to size. Ultimately, having clothing sorted by size makes the whole process of putting everything onto the sale floor much quicker and easier.
**********
By taking the time to prep clothes, toys, shoes, and other items so they are clean and in good condition, you will significantly improve your chances that they will sell at kids consignment sales. This means you make more cash while also getting it out of your house! A definite win-win in my book!
Now that you have some great tips for how to prep your items for kids consignment sales, click here to visit my post with tips on how to price for kids consignment sales.

[…] « Tips for Prepping Items for Kids Consignment Sales […]